
9/17/17 - Freerunning
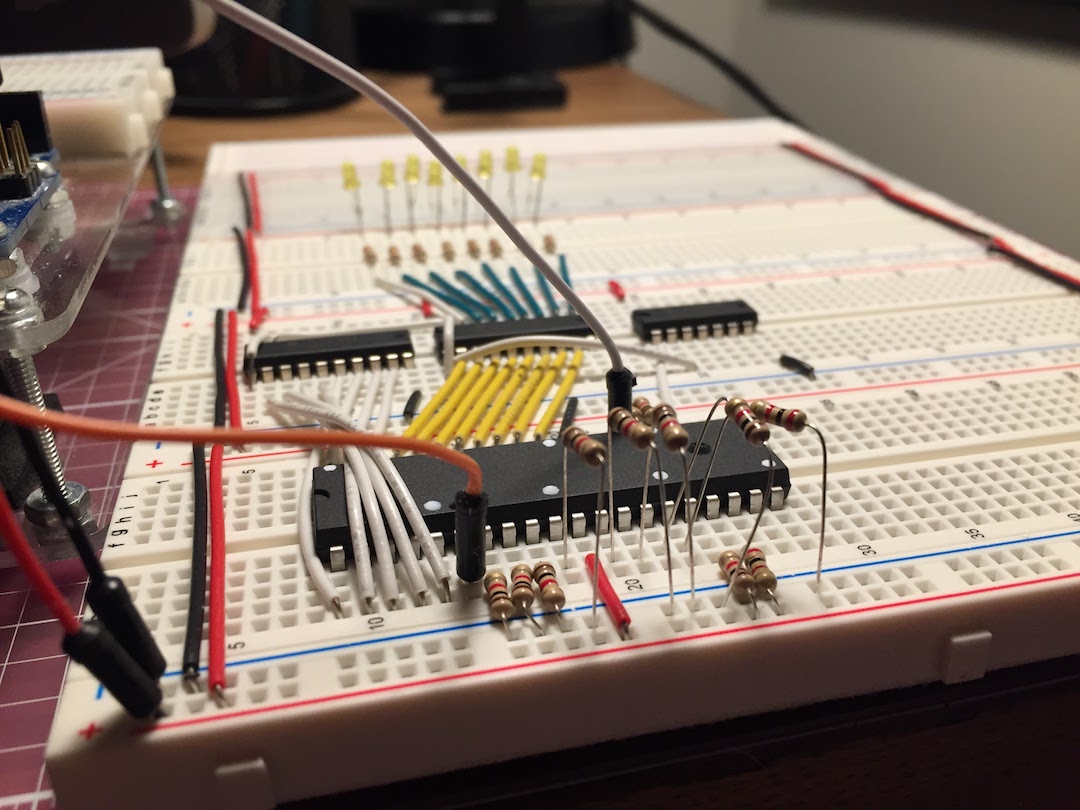
Today, we have a total of eight flashing LEDs. I was able to plug the Z80 in, set up the address bus, and free run the CPU.
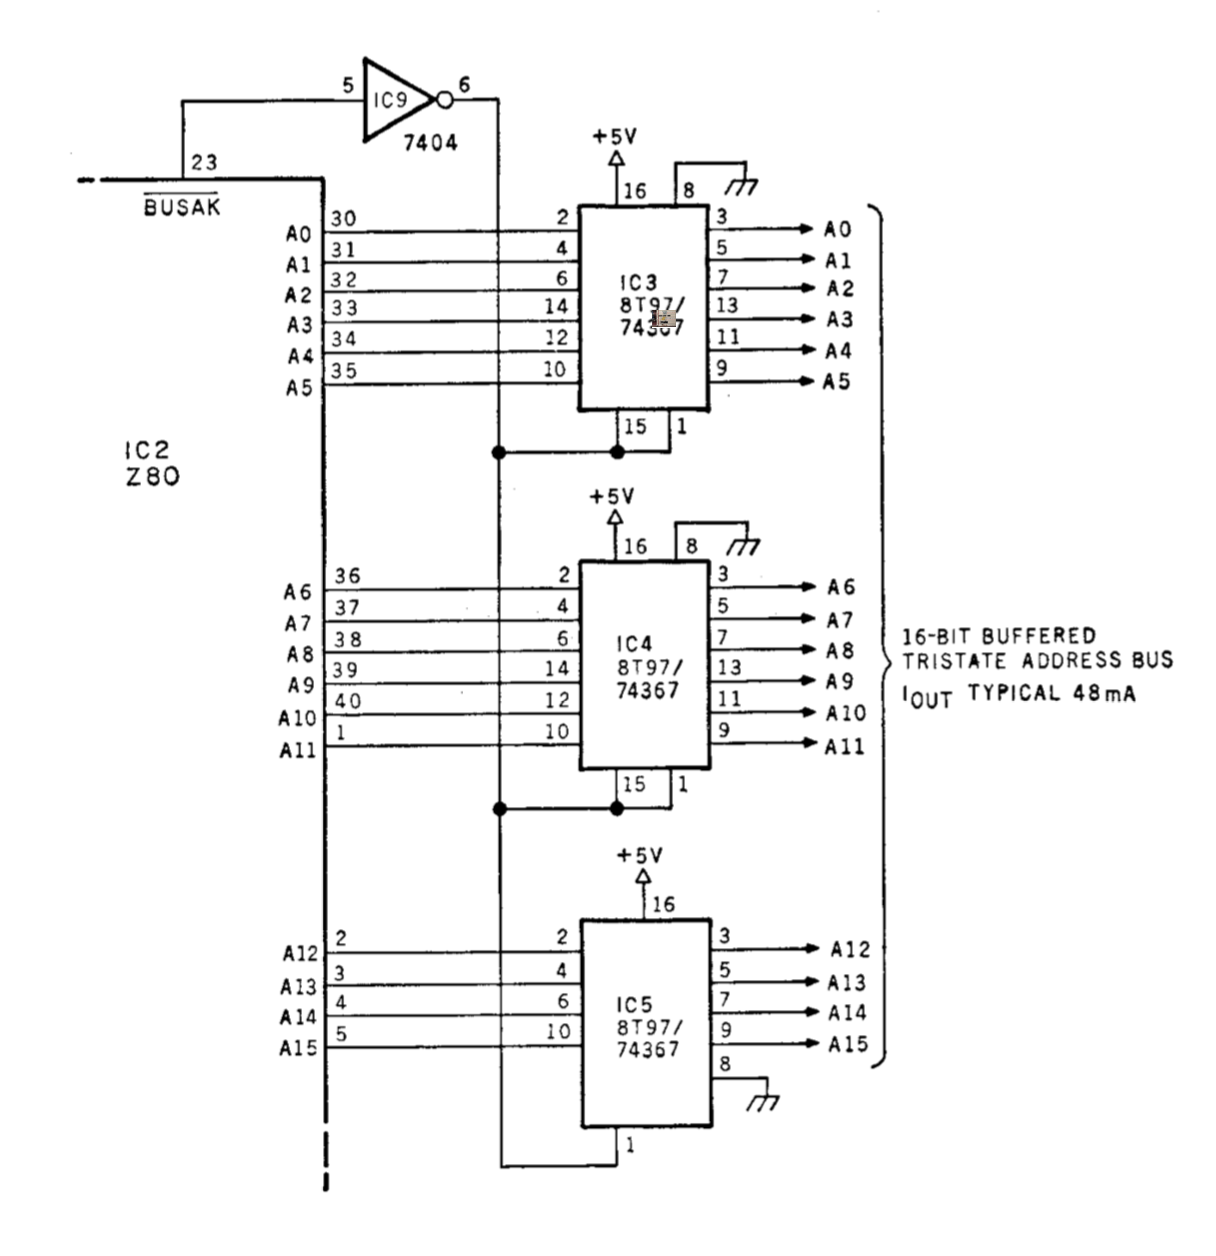
In my first Mouser order, I had purchased a bunch of 74367 chips, hex bus drivers, which Ciarcia uses to buffer the busses in the book. I guess those nice octal chips with data flow-through pinouts weren’t around when the book was written. Not only did I have to use an extra chip, but the wiring is a nightmare with the inputs and outputs all mixed in together. Fortunately, I had purchased some 74541 octal buffers to use elsewhere that worked perfectly for the address bus. Way, way cleaner. I wish I had taken a picture with the hex chips. There are so many 74-series chips out there; it’s hard to know what you’re missing out on. I’m already getting better at digesting the data sheets though.
Ciarcia’s address bus diagram:
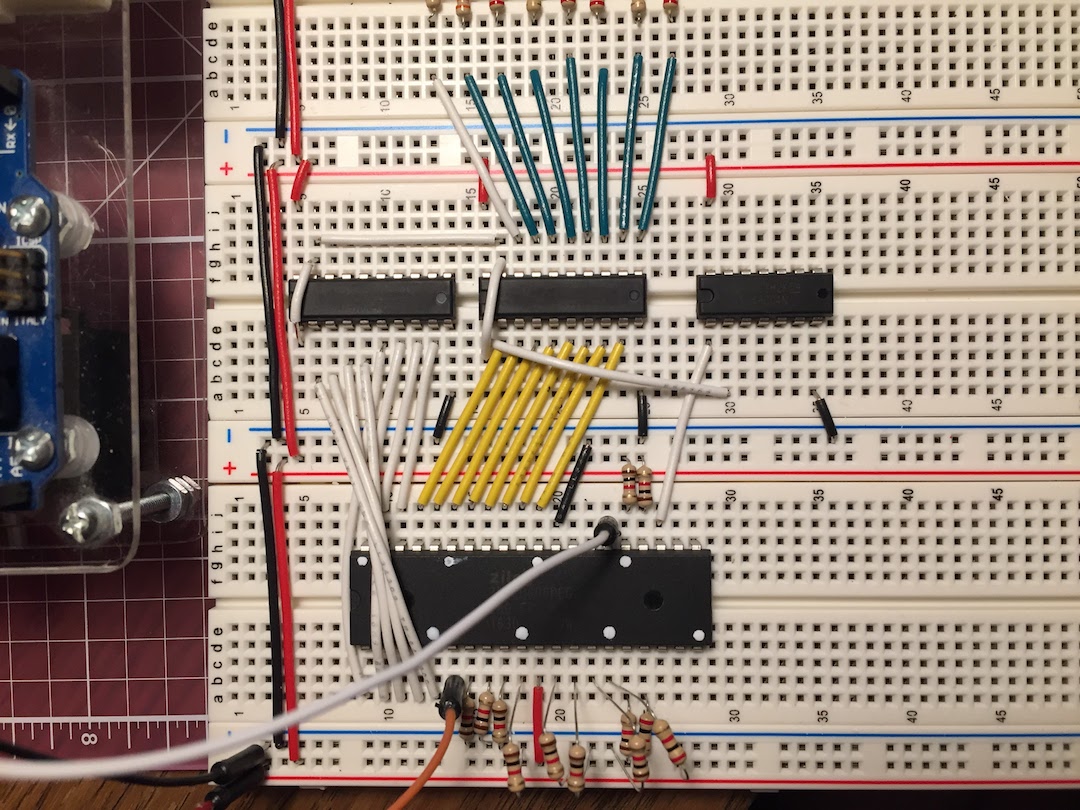
Final address bus wiring:
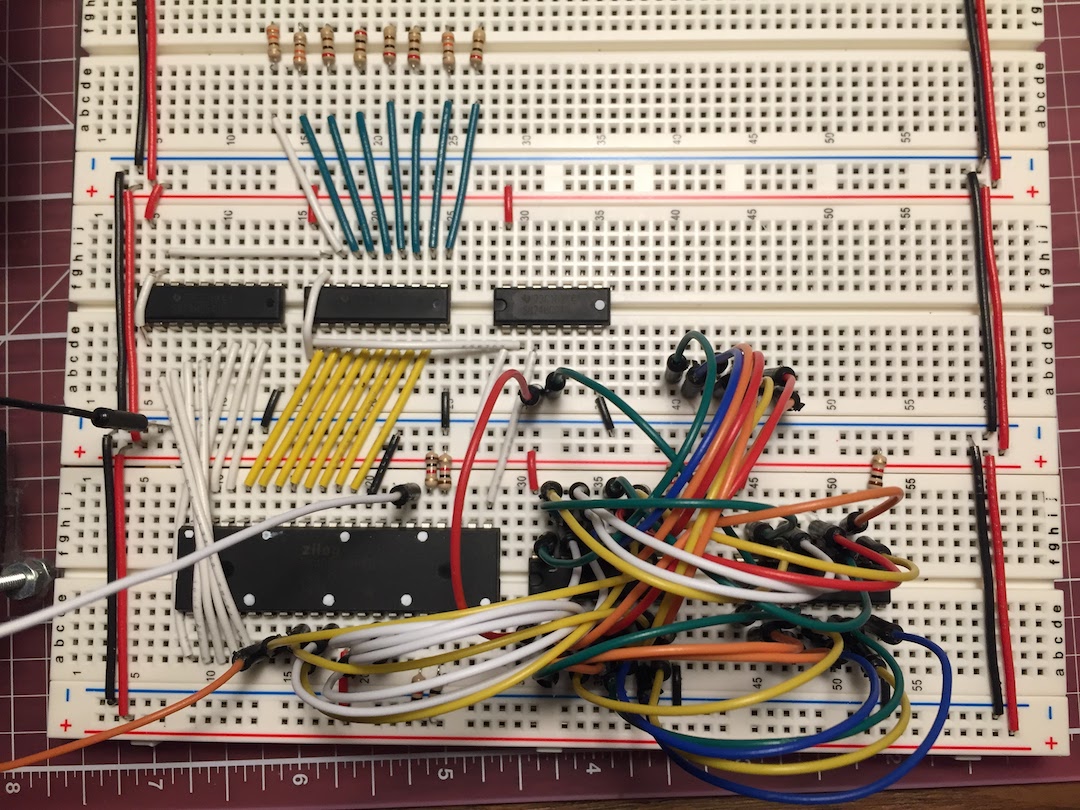
The difference between flow-through pinouts and mixed input/outputs:
Now that I could monitor the bus, it was time to test out the Z80. I hooked up VCC and GND, tied all data lines low to simulate a no-op, tied WAIT, INT, NMI, and BUSRQ high, then wrote a tiny Arduino sketch to take the place of the reset and clock circuits. I hooked LEDs up to the lower 8 bits of the address bus, then flipped the switch. Everything works! The lights all turned on for a second, then dimmed and started counting up from zero. The eighth LED flickered rapidly as I had been told, meaning the dynamic memory refresh is working correctly.
Next up is the data bus. Should be similar enough, apart from the bidirectional wiring and messy pin order on the Z80 side.